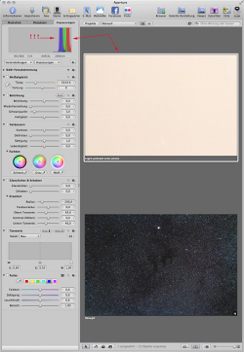
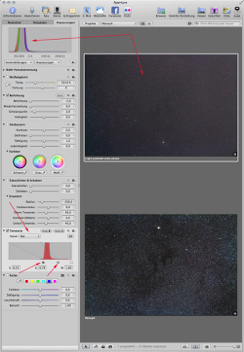
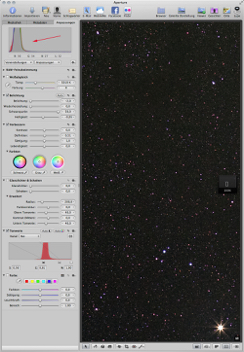
1. Select the imported photo. The light pollution gives it an orange color. See the histogram. All RGB curves are right due to the light pollution
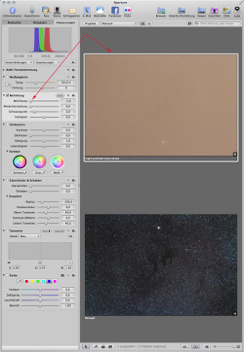
2. Move the slider to the left side. Watch the histogram. All RGB curves are moved to the left side. The picture background gets darker
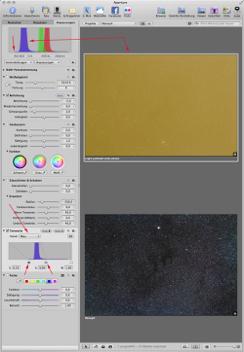
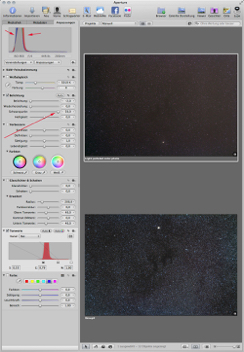
3. Move the blue (B) curve to the left side of the histogram. Let it be wide. Not narrow. Set the slider at the beginning and at the end of the bellshaped curve in frame Tonwerte
4. Repeat step 3 for the green shaped curve. Put the green curve over the blue curve. Make the green curve exactly wide as the blue curve by using both sliders
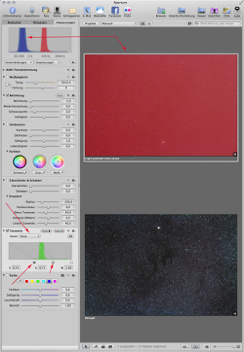
5. Repeat step 4 for the red curve. Watch the astrophoto
6. Move the slider Schwarzpunkt i.e. black start point to the right side. Take care of the histogram. All RGB curves must be completely visible, and exactly over each other
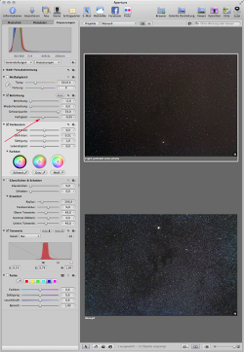
7. Fine tune the background and makes a bit darker by using the slider Helligkeit i.e. brightness. Sometimes you may see a gradient in your photos at this step
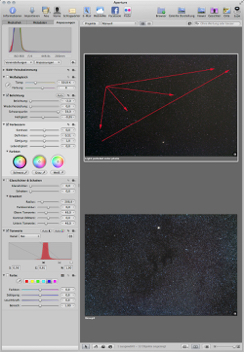
8. It may be now the right time to remove the gradient with MaximDL or Gradientextarminator in Photoshop
9. Keep the RGB curves well bellshaped without any spikes or hard deformations. Keep them wide and high. Move them to the left side of the histogram. Always use the 16 bit TIFF format for export and further processing
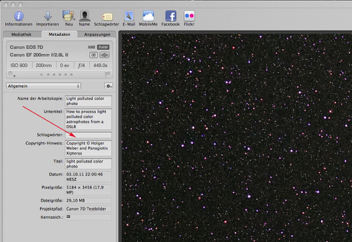
10. Please tell your friend about our homepage. We are glad to see you online soon